.png)

.png)
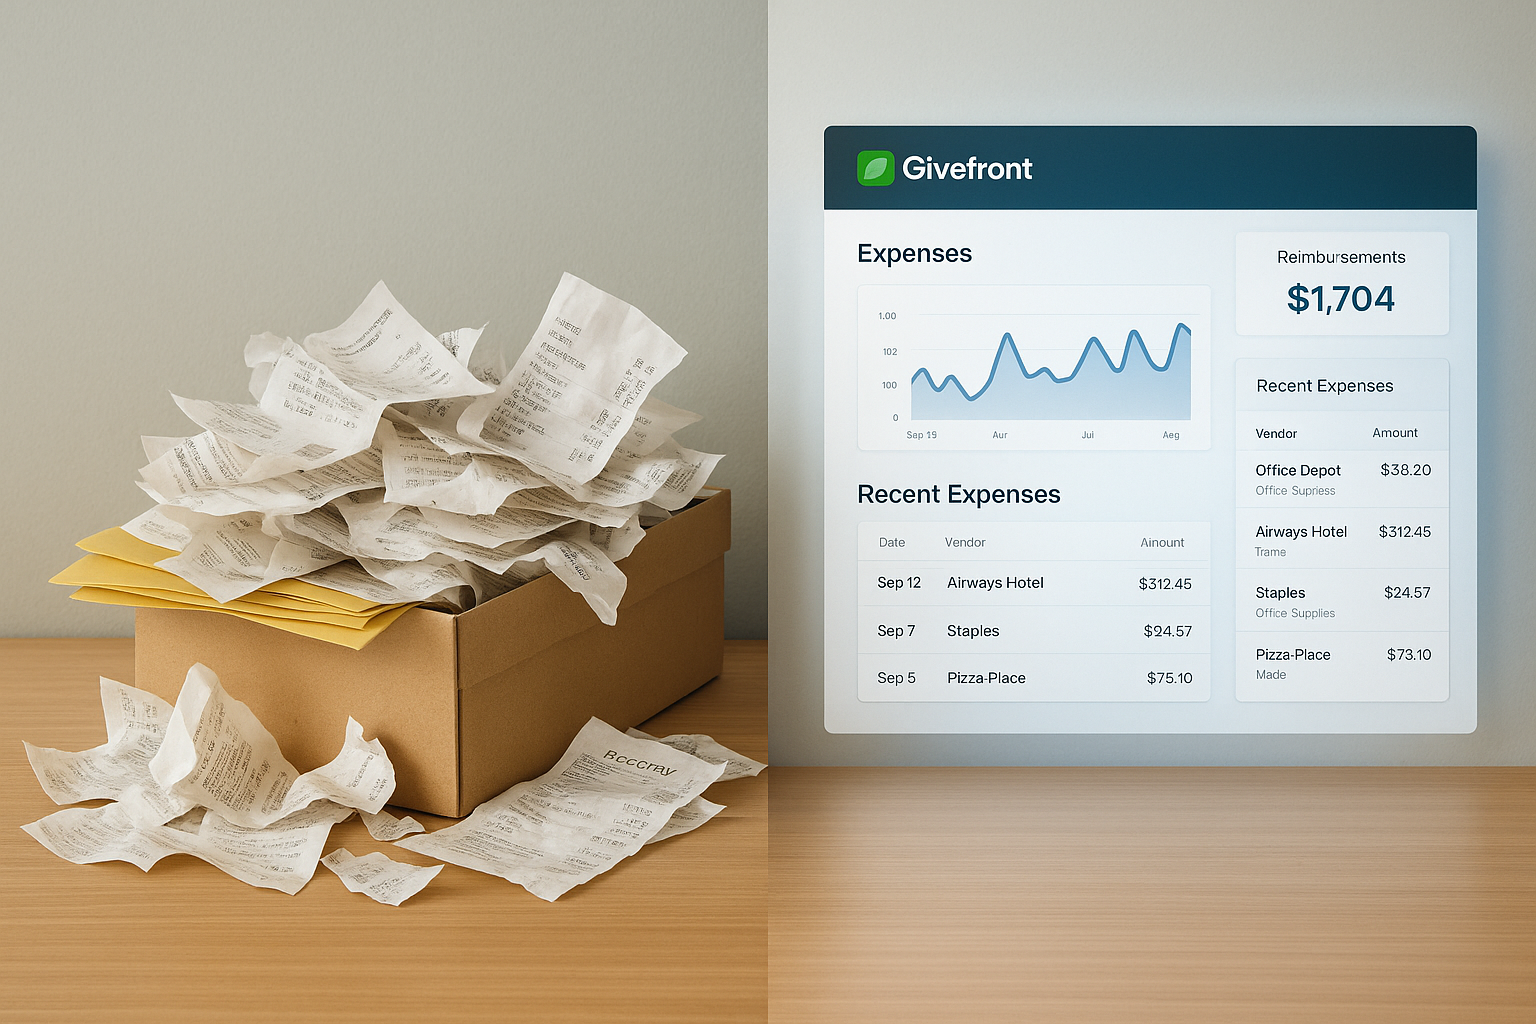
Nonprofits move quickly. Programs run events, members travel, students receive stipends, and staff make day-to-day purchases. When everyone is relying on reimbursements or a manual expense reports, things slow down. People wait to be paid back. Expense reports pile up. Administrators get pulled into small purchases that interrupt real work.
Requests is Givefront’s new way to fix all of that.
With Requests, staff and volunteers can ask for exactly what they need: a new card, a virtual card for online purchases, or a temporary limit increase. Admins stay in full control. Staff get what they need without delays. And the entire organization spends less time chasing receipts or sorting out reimbursements.
Requests helps with several common nonprofit situations:
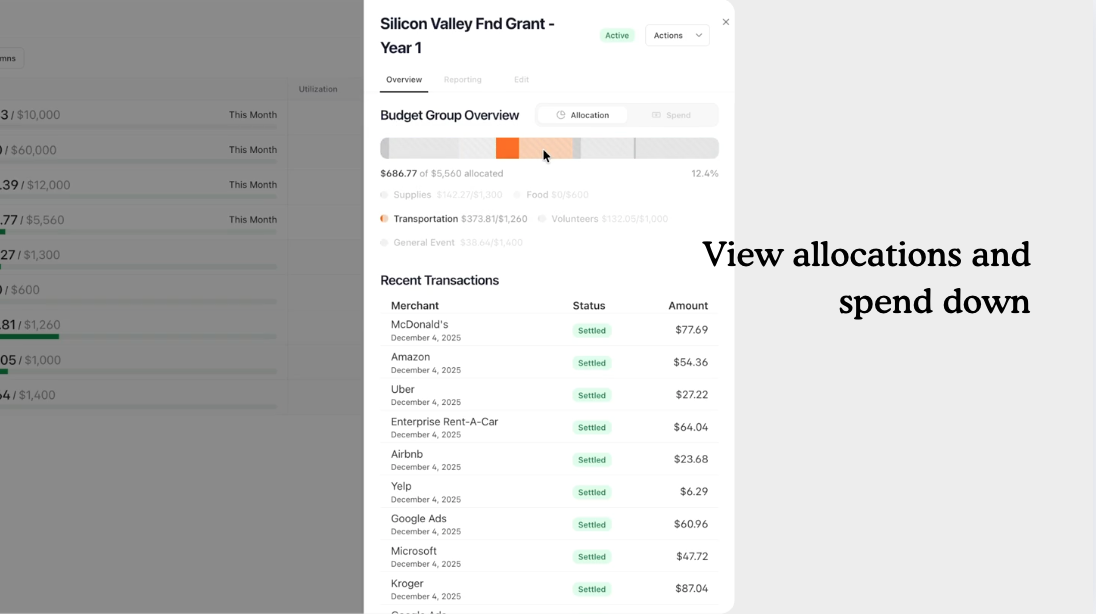
Members of an organization can request a physical or virtual card from the My Cards section of their dashboard. They can also request a spending limit increase if they need it for upcoming work.
Admins can see all incoming requests in the Requests tab. This is where you review, edit, approve, or deny each request. When you approve one, Givefront will automatically issue the card.
If you want to change the card name, spending limit, or other details before issuing it, hover over the Requested Card column and select the pencil icon. After the card is issued, future edits happen in the Cards tab.
Use the Actions column to approve or reject a request. If you reject it, enter a short reason so the requester understands what happened.
Once a request is approved, Givefront links it to the card for you. You can view the issued card by clicking the arrow icon in the Requested Card column.
Try it today and see how much clearer purchasing becomes for everyone who helps carry out your mission.


.png)
.png)

.png)


.png)

.png)
.png)